Beginner's Guide to Fascia Installation: Steps to Enhance Your Home's Exterior
Fascia boards play a crucial role in protecting and enhancing the appearance of your home's exterior. Positioned along the roofline, fascia boards support the lower edge of the roof and are essential for attaching gutters. If you're considering replacing or installing fascia boards for the first time, this guide will walk you through the process step-by-step. Understanding Fascia Boards Fascia boards are typically made from wood, composite materials, or PVC. They run horizontally along the edge of the roof and provide a smooth, finished appearance to the roof's edge. In addition to aesthetics, fascia boards help to protect the roof and interior of your home from water damage by covering the ends of the roof rafters.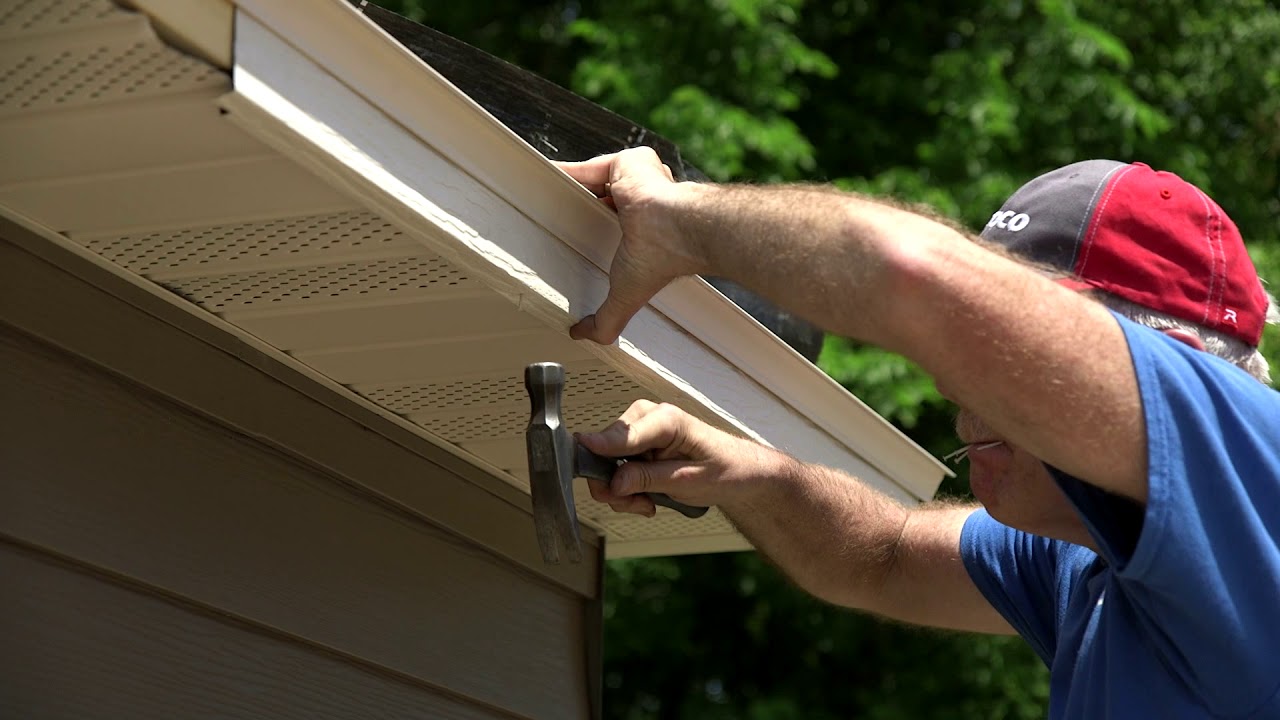
- Fascia Boards: Choose the material that best suits your needs and climate.
- Measuring Tape: For accurate measurements of fascia board lengths.
- Circular Saw or Miter Saw: To cut the fascia boards to the correct lengths.
- Hammer or Nail Gun: For securing the fascia boards in place.
- Level: Ensures the fascia boards are installed straight.
- Galvanized Nails or Screws: Rust-resistant fasteners for securing the boards.
- Safety Gear: Gloves, eye protection, and a ladder if working at height.
- Measurements: Start by measuring the length needed for each section of fascia board along the roofline. Allow for a slight overhang at the corners to ensure proper water drainage.
- Cutting: Use a circular saw or miter saw to cut the fascia boards to the measured lengths. Ensure accurate cuts to fit snugly against the roof edge.
- If replacing old fascia, carefully remove the existing boards using a pry bar and hammer. Take care not to damage the roof or gutter system during removal.
- Attach the Fascia Boards: Begin at one end of the roofline. Position the first fascia board against the edge of the roof rafters. Use galvanized nails or screws to secure the board in place. Check for level as you install each section to maintain a straight line.
- Overlap Joints: For longer sections, overlap the joints between fascia boards to ensure strength and stability. Use a scarf joint or a miter joint for a clean, professional finish.
- Secure End Caps: Install end caps or corner pieces at the ends of each fascia board to provide a finished look and protect against water infiltration.
- Paint or Seal: Depending on the material chosen, consider painting or sealing the fascia boards to protect against weathering and prolong their lifespan.
- Once all fascia boards are securely installed, attach the gutter system to the fascia using gutter brackets or hangers. Ensure the gutter is sloped correctly for proper drainage.
- Regular Inspections: Periodically inspect the fascia boards for signs of damage or wear, especially after severe weather.
- Repairs: Promptly repair any loose or damaged sections to prevent water damage to the roof structure.
- Enhanced Curb Appeal: Well-maintained fascia boards contribute to a neat and attractive exterior appearance.
- Protection: Properly installed fascia boards protect the roof and interior of your home from water damage, which can lead to costly repairs.
Comments
Topic revision: r1 - 2024-07-08 - MosaSmithJony

Ideas, requests, problems regarding TWiki? Send feedback